Photoshoot Setup
I had always wanted to improve my model kit photography skills.
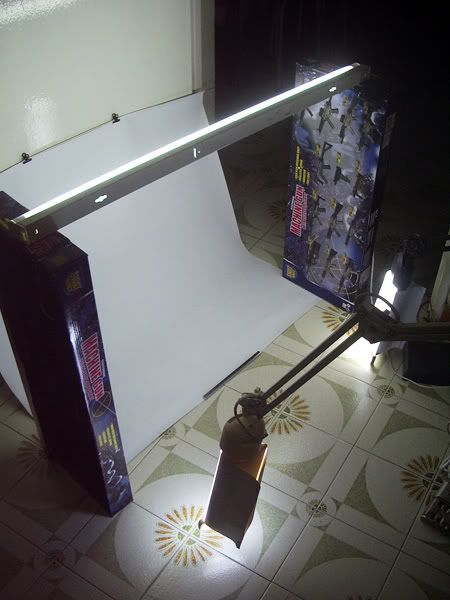
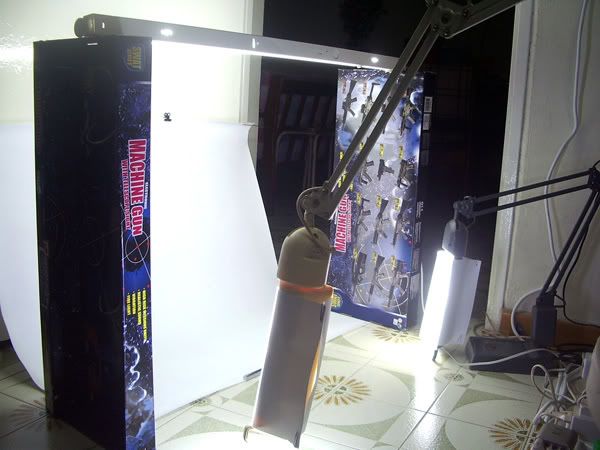
I'd need three light sources, so I recently bought two lamps from yahoo auctions.
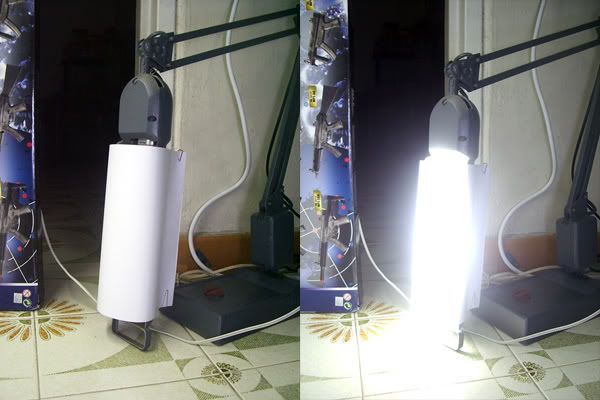
With A4 size paper and paper clips, I made diffusers for the two lamps.
Then with my exisiting OEM fluorescent tube and white mahjong paper as background, I set it up as seen below.


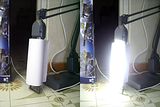
(click on images to enlarge)
Playing with White Balance:
I used 3 different white balance modes: Auto, Fluorescent and Manual.
With Diffuser.
From Left to Right:
Auto, Fluorescent, Manual


Without Diffuser.
From Left to Right:
Auto, Fluorescent

Playing with ISO:
I used 3 different sensitivity settings: Auto, 50 and 400.
Used Auto white balance.
From Left to Right:
Auto, 50, 400

Used Fluorescent white balance.
From Left to Right:
Auto, 50, 400


Playing with EV Compensation:
I used 4 different settings: +1.0, +1.3, +1.7, +2.0
From Left to Right:
+1.0, +1.3, +1.7, +2.0
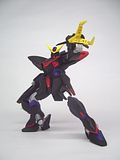
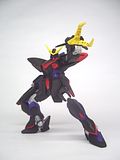
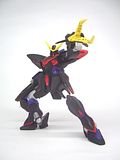

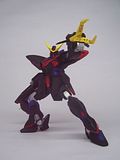
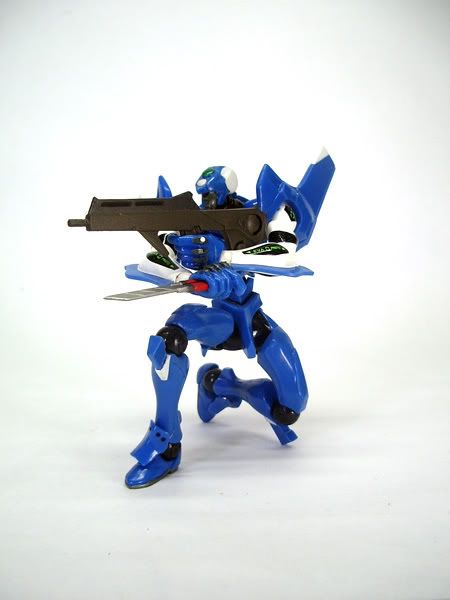
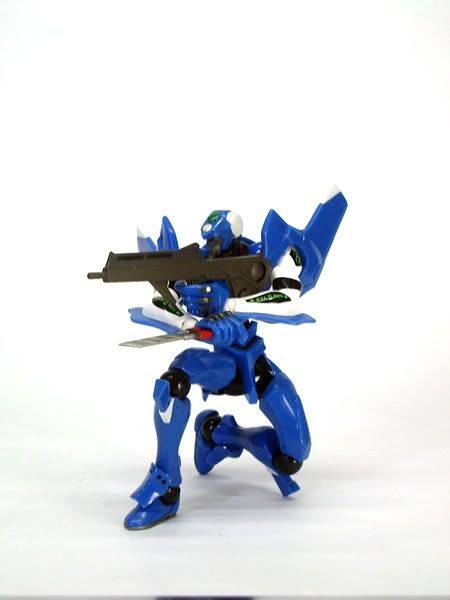
Playing with AE Metering:
It is the Light Metering Range to Determine the Exposure.
There are 3 differnt modes: Multi-segment,Center-weighted and Spot.
From Left to Right:
Multi-segment,Center-weighted,Spot


From Left to Right:
Multi-segment,Center-weighted,Spot

The following pix are PSed with auto color, auto contrast, auto level and had their curves adjusted.
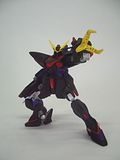
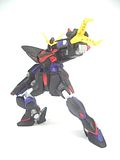
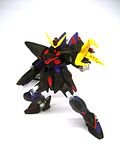
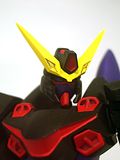
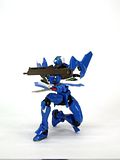
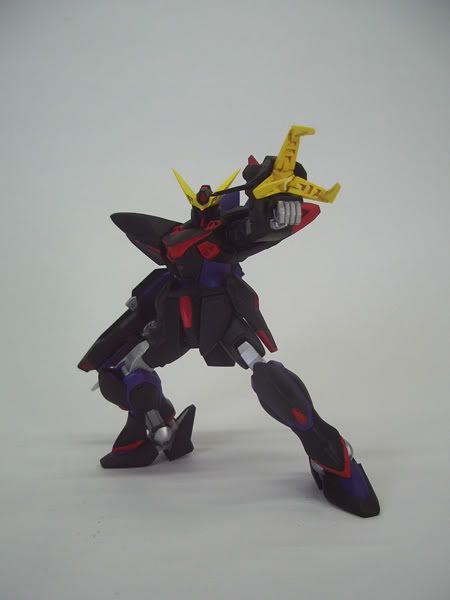
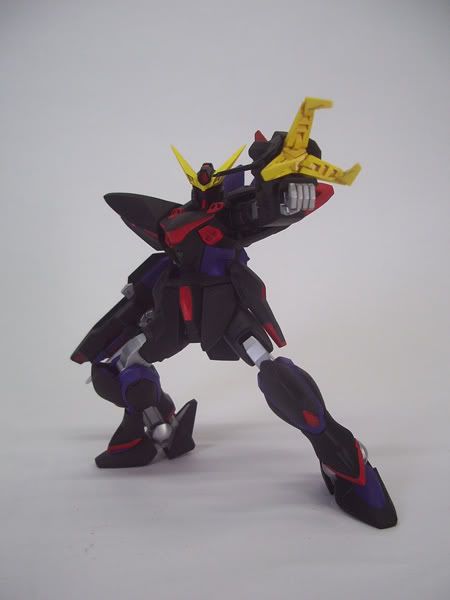
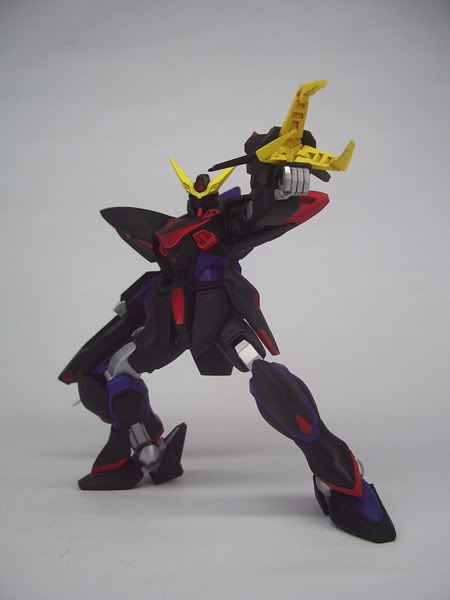
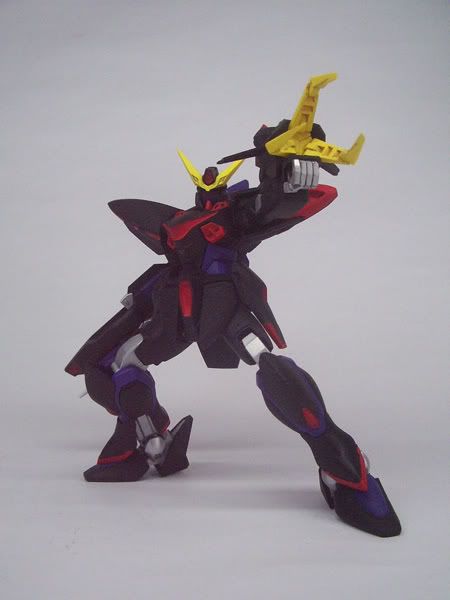
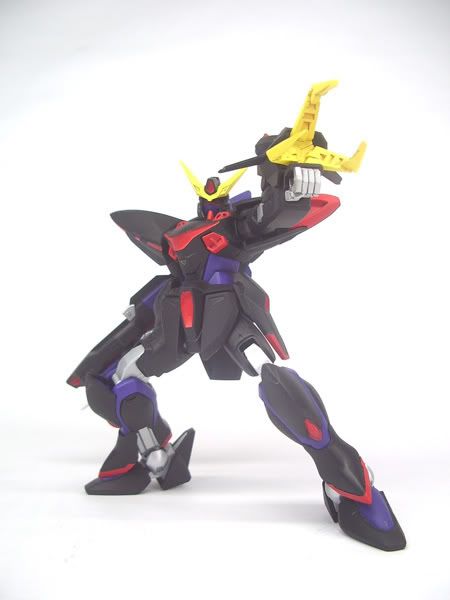
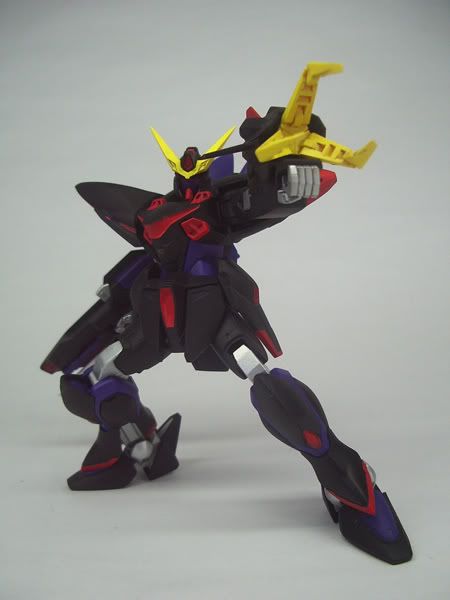
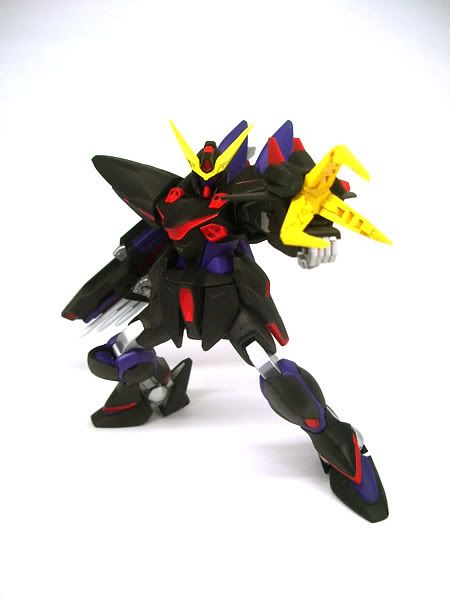
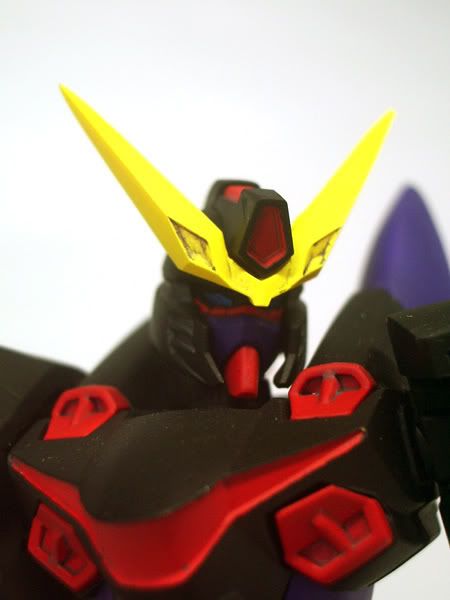
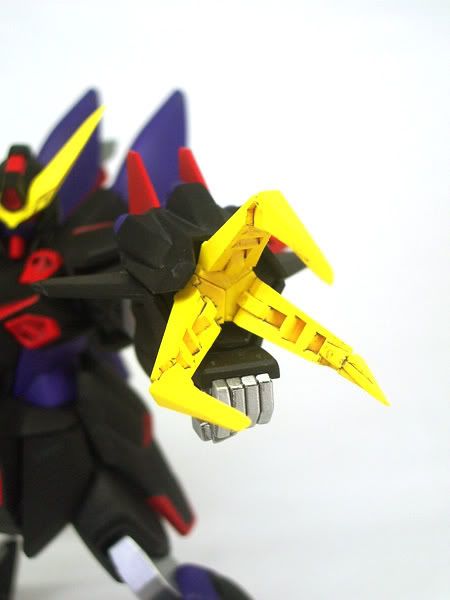
Blitz Gundam
I chose Blitz because black colored kits have the most problems with photography.
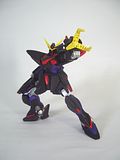
Below was edited from a pic with Spot AE metering.
Everything looks detailed & clean and the background is white (except for a couple of little greyish top corners which can be easily cleaned up and parts of the claw might be a bit over-exposed).

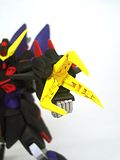
Below was edited from a pic with Multi-segment AE metering.
Notice that it is still heavily plagued with shadows.
The background is not entirely white.
The kit's details are kinda dark.

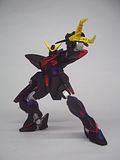
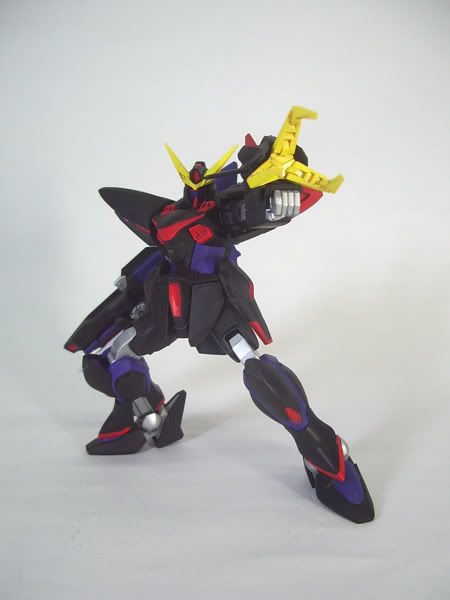
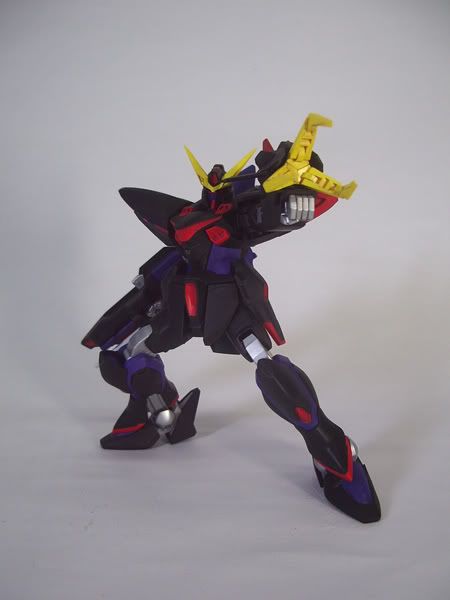
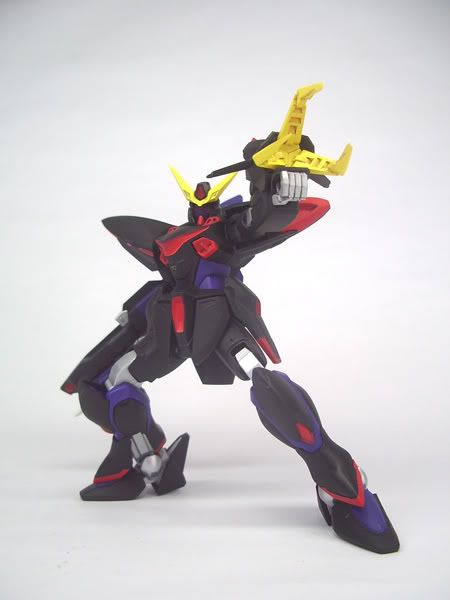
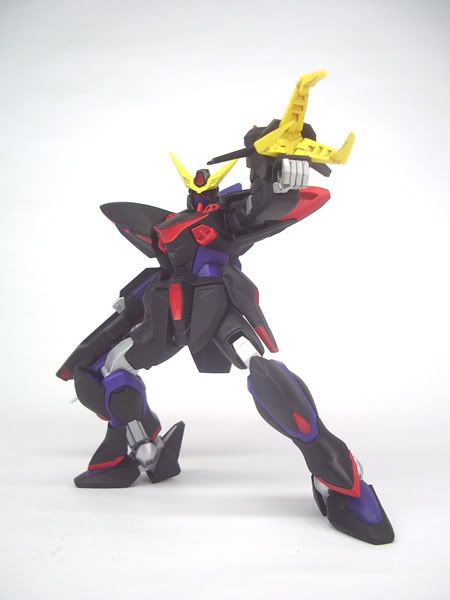
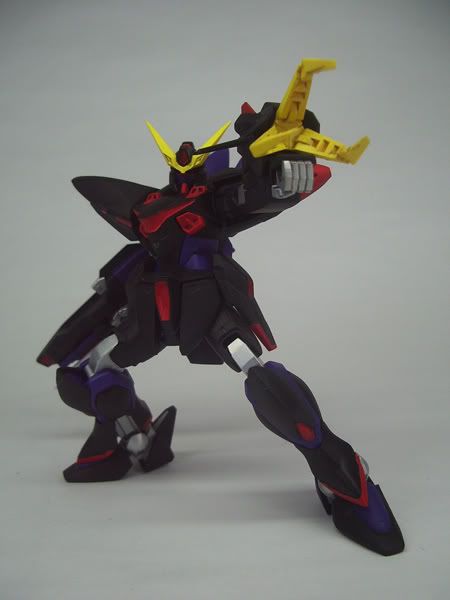
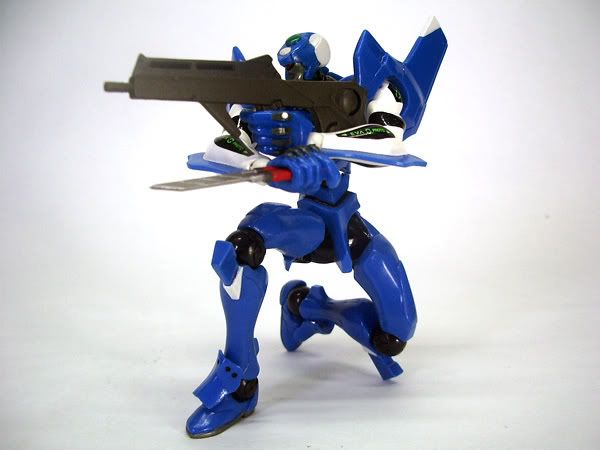
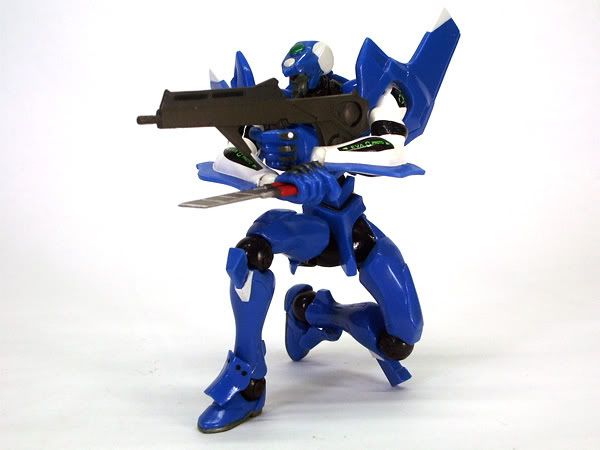
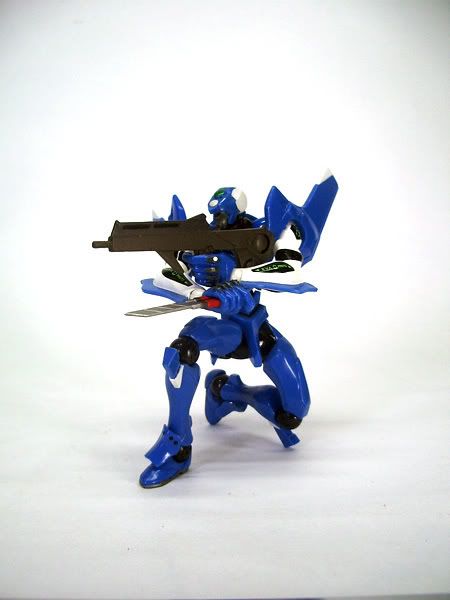
Other pix edited from Spot AE metering pix.
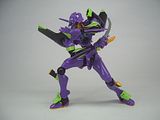
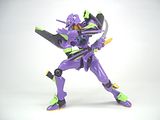
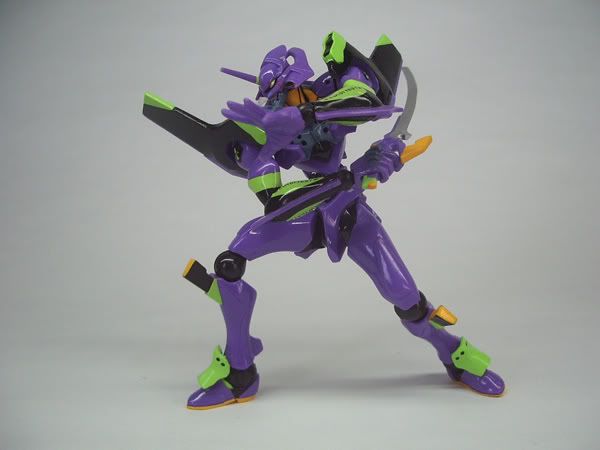
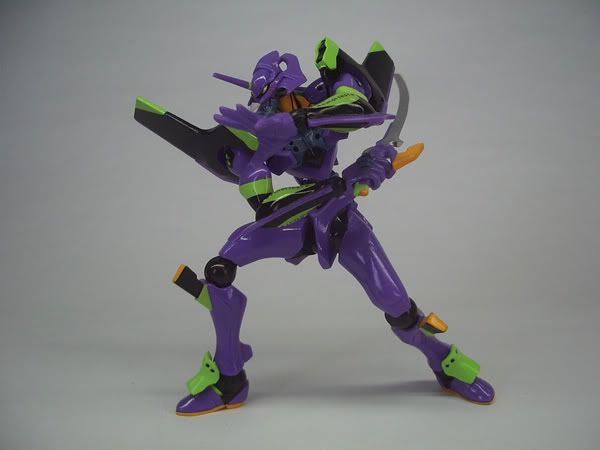
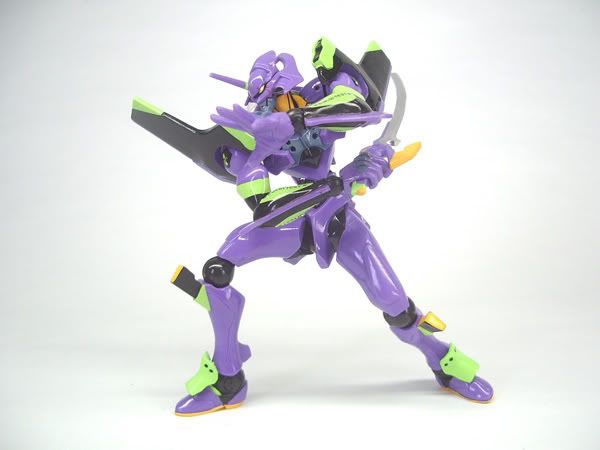
EVA-01
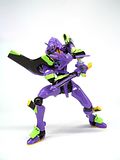
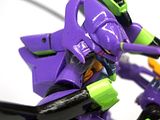
Damn, I have cobwebs on my figurine!!! LOL
Vignet-what?
Ok, I've tried out mybearbrick's tip about vignetting.
The chrome bar you see in some pix is some sorta marker to help me maintain the framing.
It all looks great now.
Multi-segment AE Metering.
From Left to Right:
No Zoom,2X Zoom

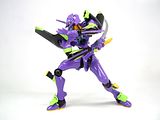
Spot AE Metering.
From Left to Right:
No Zoom,2X Zoom

I'd need three light sources, so I recently bought two lamps from yahoo auctions.
With A4 size paper and paper clips, I made diffusers for the two lamps.
Then with my exisiting OEM fluorescent tube and white mahjong paper as background, I set it up as seen below.
(click on images to enlarge)
Playing with White Balance:
I used 3 different white balance modes: Auto, Fluorescent and Manual.
With Diffuser.
From Left to Right:
Auto, Fluorescent, Manual

Without Diffuser.
From Left to Right:
Auto, Fluorescent
Playing with ISO:
I used 3 different sensitivity settings: Auto, 50 and 400.
Used Auto white balance.
From Left to Right:
Auto, 50, 400


Used Fluorescent white balance.
From Left to Right:
Auto, 50, 400

Playing with EV Compensation:
I used 4 different settings: +1.0, +1.3, +1.7, +2.0
From Left to Right:
+1.0, +1.3, +1.7, +2.0

Playing with AE Metering:
It is the Light Metering Range to Determine the Exposure.
There are 3 differnt modes: Multi-segment,Center-weighted and Spot.
From Left to Right:
Multi-segment,Center-weighted,Spot

From Left to Right:
Multi-segment,Center-weighted,Spot
The following pix are PSed with auto color, auto contrast, auto level and had their curves adjusted.
Blitz Gundam
I chose Blitz because black colored kits have the most problems with photography.
Below was edited from a pic with Spot AE metering.
Everything looks detailed & clean and the background is white (except for a couple of little greyish top corners which can be easily cleaned up and parts of the claw might be a bit over-exposed).

Below was edited from a pic with Multi-segment AE metering.
Notice that it is still heavily plagued with shadows.
The background is not entirely white.
The kit's details are kinda dark.

Other pix edited from Spot AE metering pix.
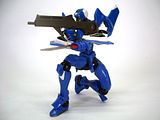
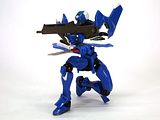
EVA-01


Damn, I have cobwebs on my figurine!!! LOL
Vignet-what?
Ok, I've tried out mybearbrick's tip about vignetting.
The chrome bar you see in some pix is some sorta marker to help me maintain the framing.
It all looks great now.
Multi-segment AE Metering.
From Left to Right:
No Zoom,2X Zoom

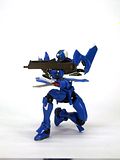
Spot AE Metering.
From Left to Right:
No Zoom,2X Zoom


Comments
With the custom WB, you know that you are safe to use it, instead of Auto or preset since, custom WB is the most accurate.
ISO selection. If your setup is bright enough, which also means that your camera sensor does not warn you of possible blur due to handshake, you should use the smallest ISO possible (here ISO50). Note that high ISO gives high noise. Alternatively, with a tripod, you can safely shoot with the lowest ISO despite the handshake warning. But since depression of the button may introduce an inital shake (depending on your shutter lag), you are best using a self-timer (~2sec).
Exposure compensation. You can ignore all the exposure compensation, since your sensor should adjust your settings like shutter speed and aperture to give you your best lighting. +1.0 already looks washed out on my LCD (a lot depends on your display setting). But always shoot with UNDEREXPOSURE, because after that you can correct with PS. Overexposed areas are usually lost data.
Metering. Note that Metering affects your exposure. I will recommend Center-weighted or multi-segmented. Your spot-metering looks overexposed and bollocks. Center-weighted allows you to play around such that it is possible to 'eliminate' the background which needs to have a certain level of contrast from subject. However, when you aim at various part of the frame, the exposure will be adjusted, so inconsistency in the exposure can result. Otherwise, using multi-segmented will be the BEST to use to give you the overall consistant exposure throughout the shoot.
Good selection of the Blitz to test your shoot. The reason that the facial details of the Blitz is because of the angle of light ray. Do adjustment so that the light 'falls' on the face. Greyish corners is a symptom called 'vignetting' which is common for lens constructions. Try using a a focal length that is in between, meaning use between wide (zoom 'out') and tele (zoom 'in'). It should minimize the vignetting effects. But since your subject is not affected by the vignetting, you can ignore it.
The EVA-01 looks well taken, especially the last pic.
All in all, a very detailed and comprehensive review of your setup. I hope that my 2cents are useful to you, though I am not sexpert here.
What do you feel about the metering mode?
Multi exposed the subject and background properly.
Spot made the subject slightly brighter, clear but slightly towards overexposure.
This is seen from my home desktop with filter.
I shall comment again when I see it from my office LCD display.
Initially I felt that spot metering is good bcos it eliminates my vignetting prob. But since it over-exposed the lighter colors, I shall stick with multi metering instead.
In multi/center weighted metering,the colors are darker and not as bright...even after PS. Maybe i'd push the lamps closer since they r diffused and won't cause too much glare.